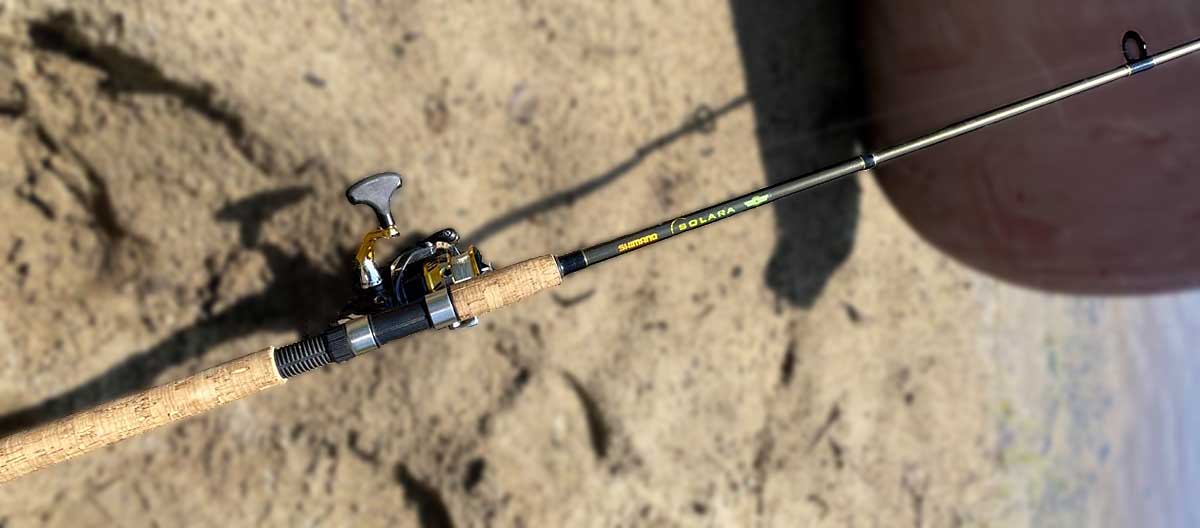

Fishing Rod and Reel Setup
Attaching your reel to your rod is a very simple three-step process:
1. Firstly, identify the foot of the reel, the rod seat, and the rod hoods.
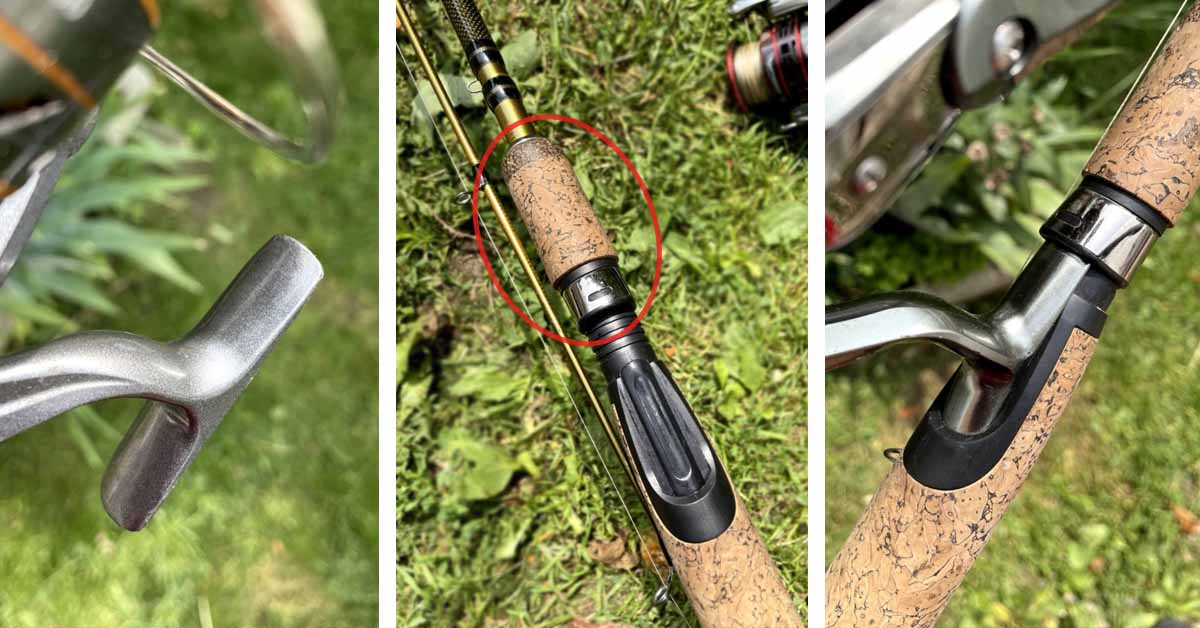
Left to right: the foot of a reel, a rod with a hidden reel hood, and a reel secured inside the seat after tightening the hood
2. You can only tighten and loosen one of the rod hoods. This allows you to easily insert the foot of your reel. Locate the twistable hood and adjust it so you can insert and secure the foot of the reel.
3. Slip the foot of your reel into the opposite rod hood first. Hold the reel in place while you make sure it's nice and straight. Meanwhile, tighten the loose (twistable) hood to secure the reel in place.
Note: Both rod hoods should be snug against the foot of the reel, but you don’t want to over-tighten it or it could crack.
Spooling a Spinning Reel
Things you'll need:
Fishing line spooler
This allows you to spin line onto your reel quickly and easily. You can also ask someone to give you a hand. If no one is around to help you however, grab a big bowl (or pail/bucket) of water and place the line in that. Place a towel under the bucket to catch any water that may splash over.
Pen or stick
It should be skinny and long enough to poke through the hole in the middle of the spool your line came on. This is what your helper will be holding onto as you spool your reel.
Piece of tape
Electrical tape, duct tape, or hockey tape work best. (I prefer hockey tape.) Once you’ve tied line to your reel, you’re going to tape the knot and line to the reel. All you need is a little piece of tape about ¼ inch wide to 1 inch long.
Step 1: Set yourself up in an area with enough space to accommodate the entire length of your fishing rod. If you have a two piece rod, connect the pieces now as it's much easier to spool a reel when your rod is one full piece than when it's not. Note: When connecting your rod, always make sure the rod guides (eyes) line up with each other and nothing is bent or broken.
Step 2: Make sure the bail to your reel is open; do this by flipping it up.
Step 3: Take your fishing line out of its packaging and thread the tag end (the free end of the line) through each guide/eye on your rod. Start from the tip of the rod and work down towards your reel. Make sure you don't miss a guide, otherwise you'll to have to start all over.
Step 4: Tie your fishing line to your reel. There is one specific knot used to do this and it's called the Arbor knot. (Scroll down for step by step instructions for tying an Arbor knot).
Step 5: Next, set up your fishing line spooler using the actual apparatus, a helper, or your bucket full of water.
Note: Before you start spooling your reel, remember that you must keep tension on your line as it wraps onto the spool of your reel. You can get your helper to apply pressure to the spool while you reel it in. Alternatively, you can position your hands in a way that lets you hold the line snug while you turn the crank with the other hand. This is important because line can slip, ball up, and get tangled while fishing if it was spooled onto a reel too loosely.
Step 6: Start spinning the crank and reeling in your line until you have a solid amount of line on the spool. This can take a couple of minutes. Make sure you leave a little bit of a gap between the edge of the spool and the line itself. You don't want to take the line right to the edge. Annoying problems will arise with your line and reel as a result.
Step 7: Now that you have the amount of line you need on your reel, cut the line from the original spool. Cut the line about 5-7 feet down from the tip of your rod.
Step 8: Starting from the tag end (the loose free line you just cut from the spool), take 6-10 inches of line and fold it in half.
Step 9: This section of line should now be doubled up. Tie and tighten a basic overhand knot, creating a loop at the bottom.
Step 10: Lastly, cut off the extra tag line. Afterwards, you can wrap that loop around the handle of your reel so the line doesn’t unravel.
Arbor Knot
The Arbor Knot is the standard knot used for connecting your fishing line to your fishing reel.
