
How to Tie Fishing Knots
There are four fishing knots that I’m going to teach you how to tie. You can use any one of these to tie your hooks and lures to your line. Most importantly, they're strong, effective, reliable knots and likely the only fishing knots you'll ever need to know.
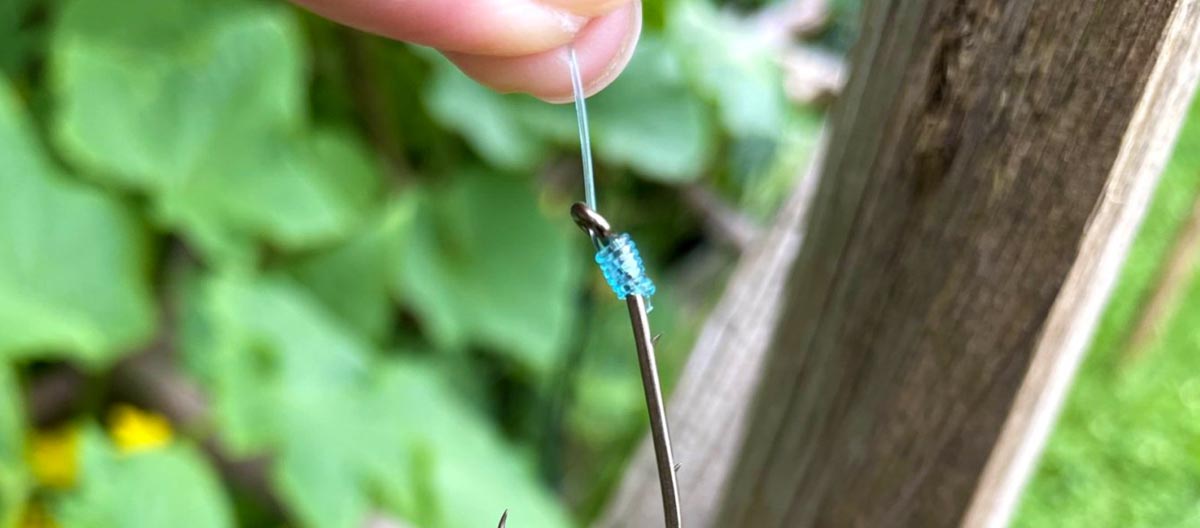
Improved Clinch Knot
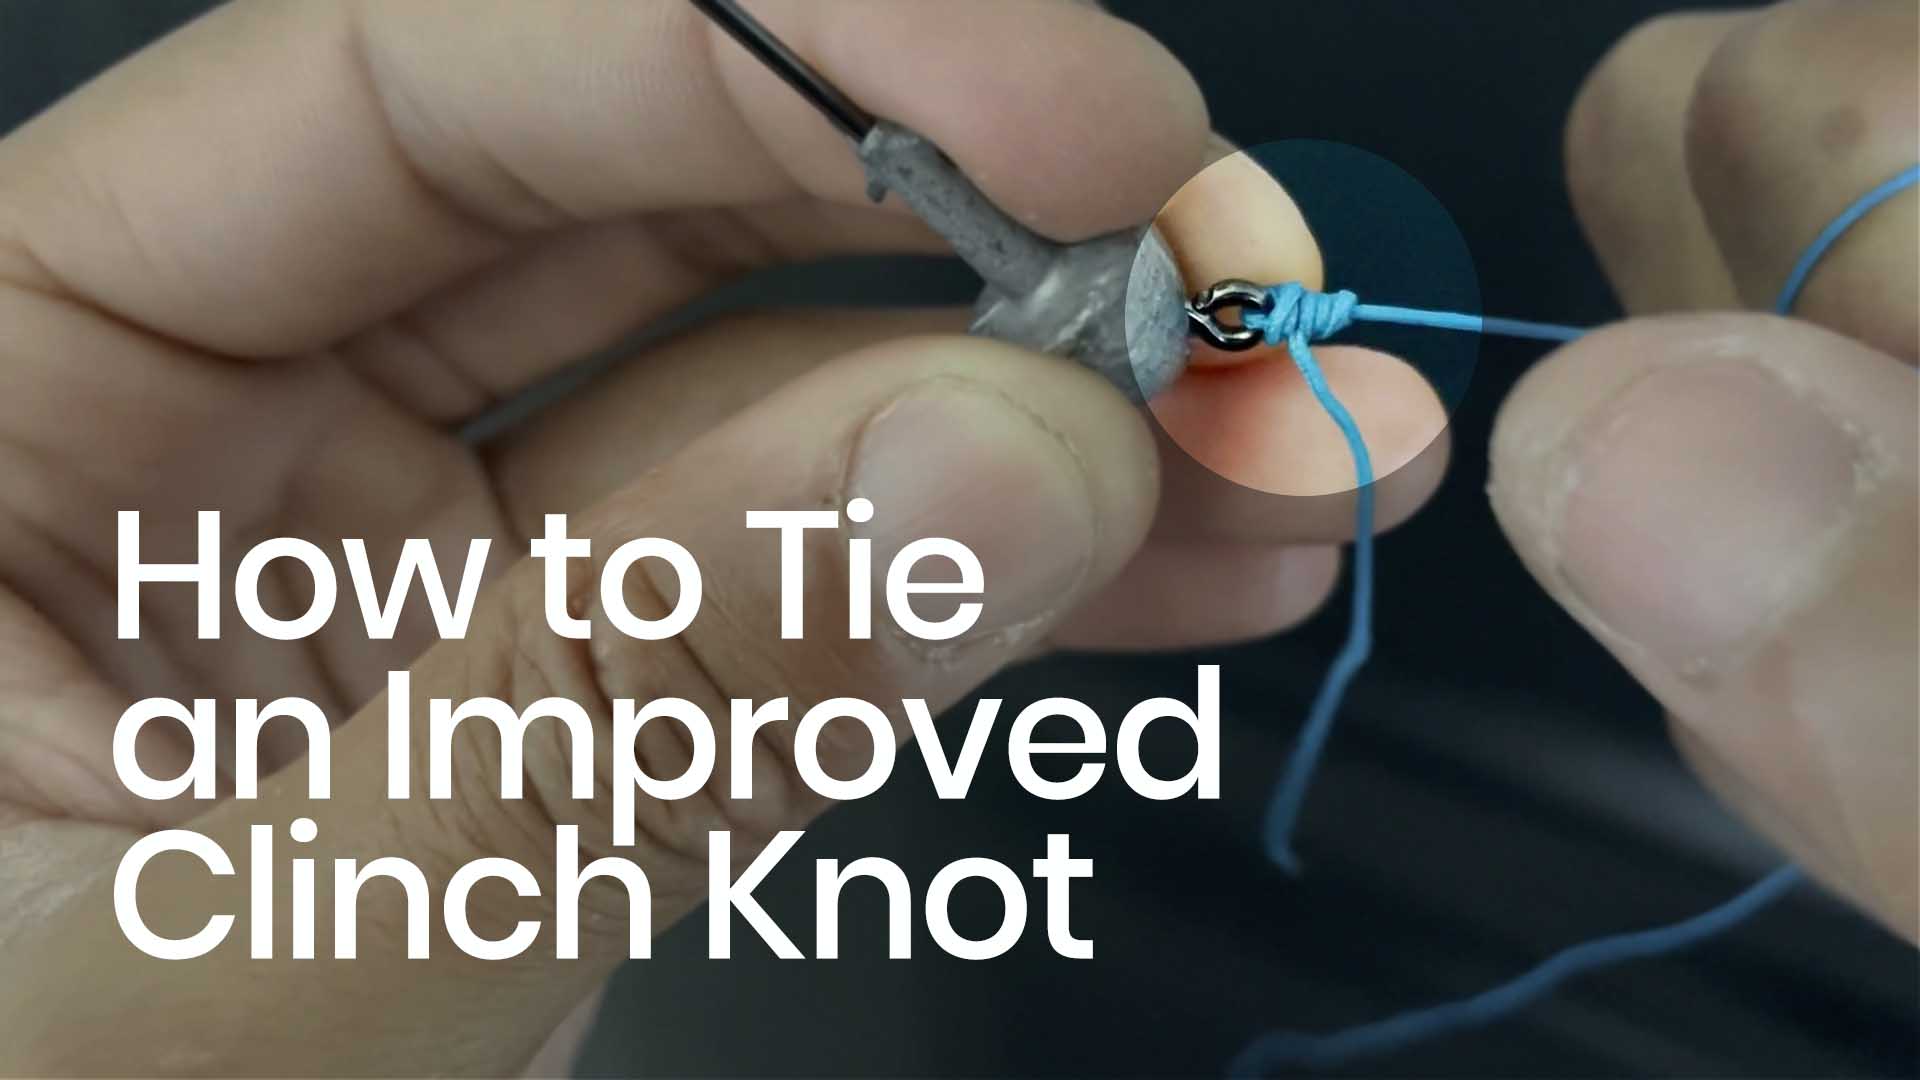
Step 1: Take the tag end of your line and pass 4-6 inches of line through the eye of your hook.
Step 2: Next, bring your tag end and your main line together.
Step 3: While holding your tag end and main line together, spin your hook (left or right) four to eight times around. Do this four times for heavy, thick line and eight times for light, thin line. (Sometimes I do as many as 11.)
Step 4: Take the tag end and pass it through the loop in the line located at the eye of the hook.
Step 5: Take the tag end again and pass it back through the new loop you just made.
Step 6: While holding on to the tag end, wet the twisted, knotted line. Subsequently pull your tag line up along your main line, towards the tip of your rod.
Step 7: Push the knot towards the eye of the hook while pulling your main line tight. Make sure you have a good hold of the hook as well.
Step 8: Make sure your knot is pushed nice and tight against the eye of the hook. Keep pushing the knot together with your fingers until this happens.
Step 9: Once it all looks nice, tight, and secure, cut off the tag end.
Step 10: Finally, this is where your super glue comes in handy. Place a little dab on the knot for some extra strength.
Uni Knot
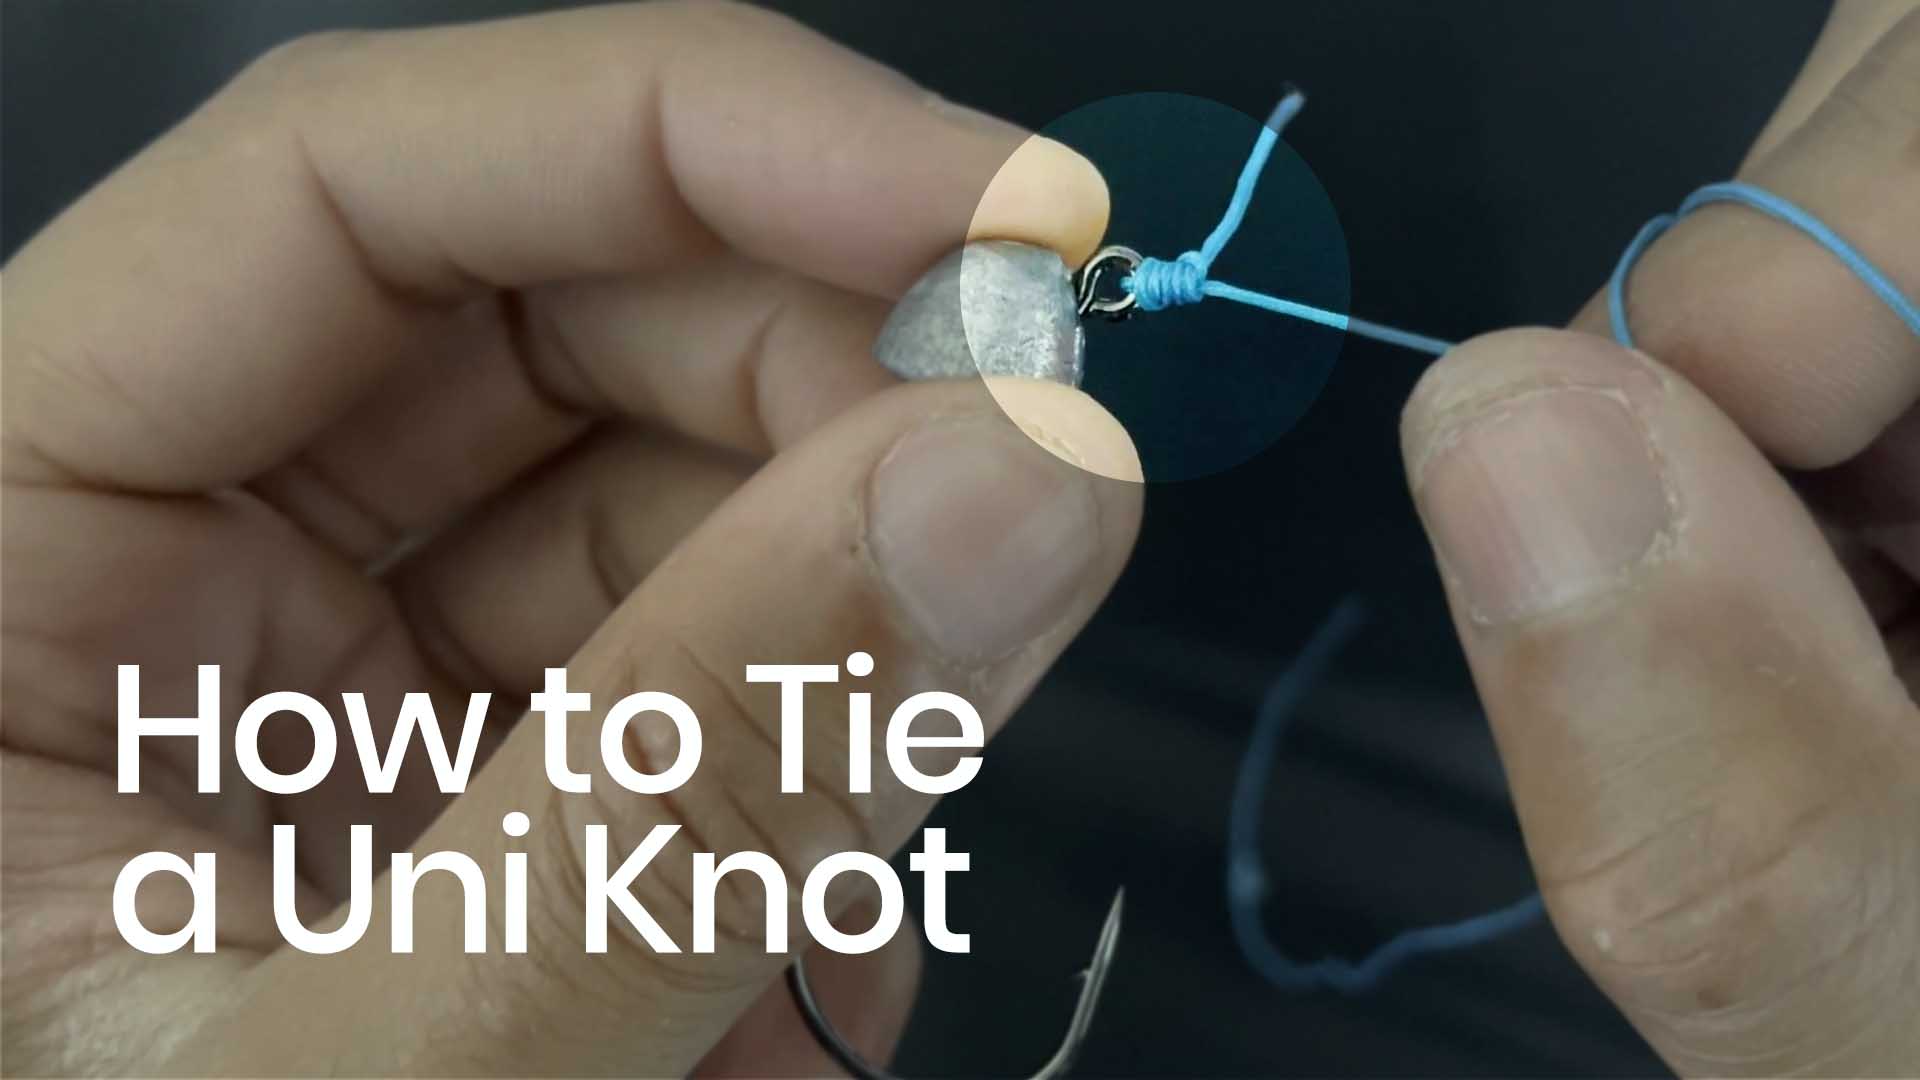
Step 1: Take the tag end of your line and pass 4-6 inches of line through the eye of the hook.
Step 2: Bring your tag line and main line together.
Step 3: Close to the eye of the hook, pinch the two lines together and hold them there.
Step 4: Make a small loop with your tag line as closely as you can to your finger and thumb. The top of the loop needs to be in line with and touch your main line. Pinch that loop in place with the same thumb and finger holding your line together - this is the hardest part.
Step 5: Take the tag line and then wrap it five times around the top of the loop and the main line.
Step 6: Wet this section (with your saliva) and pull the tag line towards the tip of your rod.
Step 7: While safely holding your hook, pull your main line in the opposite direction. Your knot should slide down the line before pushing against the eye of the hook nice and tight.
Step 8: Make sure everything looks good and then cut off the tag line as close to the knot as you can get.
Step 9: Lastly, put a little dab of super glue for extra strength and security if desired.
Loop Knot
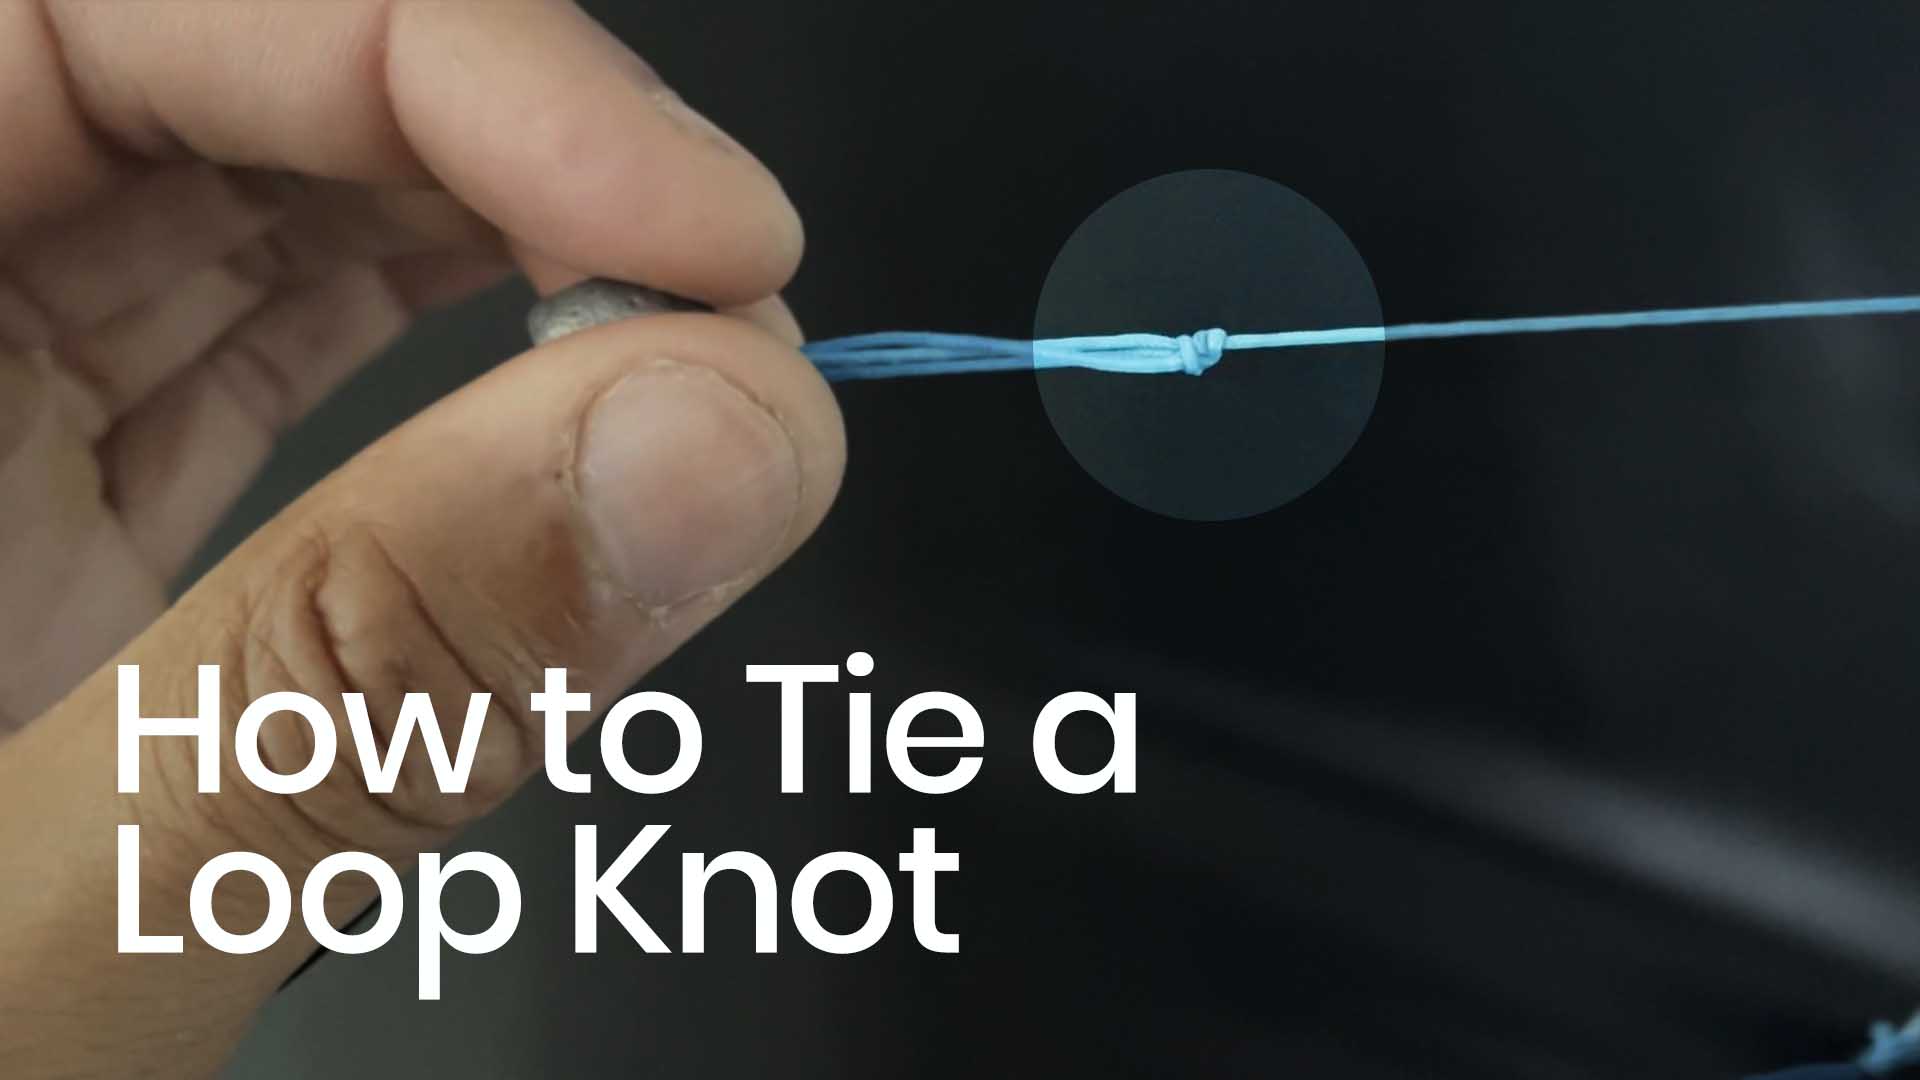
Step 1: About 4 inches up from the tag end of your fishing line, tie a basic overhand knot to begin with. Don’t pull too tight; you want there to be a little loop in the line.
Step 2: Take the tag end of your line. Put it through the eye of your hook and then bring it up through the loop you just made in your line.
Step 3: Slowly pull your tag line so the entire loop slides down, towards the eye of the hook without tightening the loop itself. The closer the loop to your hook, the smaller the loop knot will be.
Step 4: Wrap your tag end around your main line two to five times.
Step 5: Take the tag line and wrap it five times around the top of the loop and the main line.
Step 6: Pull the tag line and main line to tighten up the knot.
Step 7: If you have a loop in your line and the knot is nowhere near the eye of the hook, then you’ve tied this knot correctly.
Step 8: Double check that the knot is nice and tight together. Afterwards, cut off the tag line close to the knot and add super glue if desired.
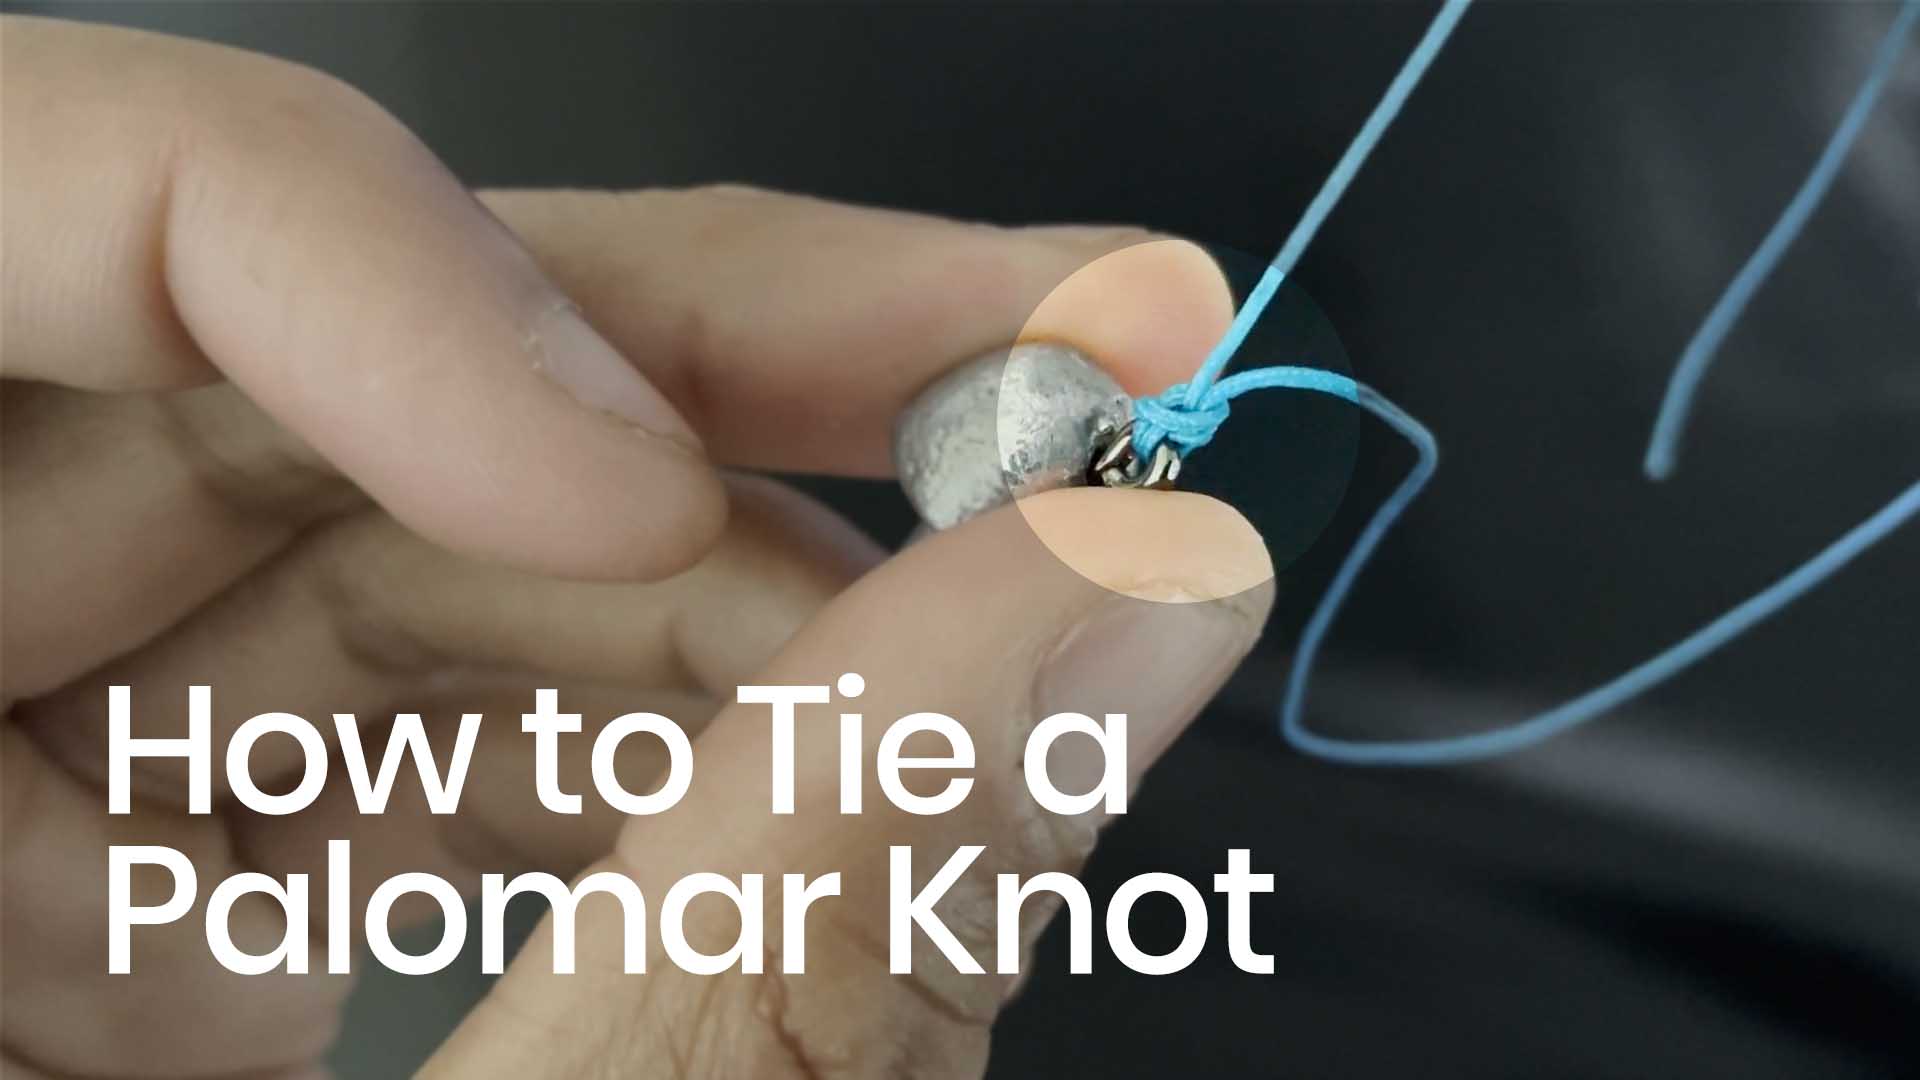
Palomar Knot
The palomar knot is a little different than the other fishing knots. Instead of taking the tag end of line and putting it through the eye of the hook, you want to make a loop in the line first, feed the loop through the eye of the hook, and then tie a basic overhand knot with the loop. However, feeding your looped line through the eye of your hook can seem almost impossible to do. So here's how we’re going to do it:
Step 1: Feed about 10-12 inches of your tag line through the eye of your hook.
Step 2: Take your tag line and feed it back through the eye of the hook, doubling up the line your hook is hanging from. It’s as if you actually put the loop through the eye of the hook, just without the struggle.
Step 3: With your hook hanging in the middle of the doubled-up looped line, tie a basic overhand knot with the looped end of your line around the hook. Again, don’t pull it too tight.
Step 4: Before tightening the knot, take the loop and pull it over and under the bend in the hook.
Step 5: Wet the knot part and pull the tag line and main line simultaneously. Make sure the loop and knot go over the entire hook and tightens up at the eye of the hook.
Step 6: Make sure everything is nice and tight. Cut off the extra tag line as close to the knot as possible and add your super glue if desired.
Keep Your Hooks Secured
Some rods will have a little hook holder somewhere along the handle of the rod. On the other hand, if your rod does not come with one, you can attach your hook to any one of the rod guides. Do not hook it to the inner part of the guide your line runs through. Hook it in the part of the guide directly connected to your rod. If you hook it to the actual rod guide, it can damage the inside of the guide which will then cut and break your line.